Setting up Remote Desktop Access from Home
Resources
Introduction
Welcome to TNECDA- Creative Design Agency's comprehensive guide on setting up Remote Desktop Access from home. In today's digital age, having the ability to connect to your work or personal computer remotely is an invaluable tool for productivity and convenience. Whether you are a professional designer, artist, or simply want to access files and applications on your home computer while away, this guide will walk you through the necessary steps to accomplish it.
Why Remote Desktop Access?
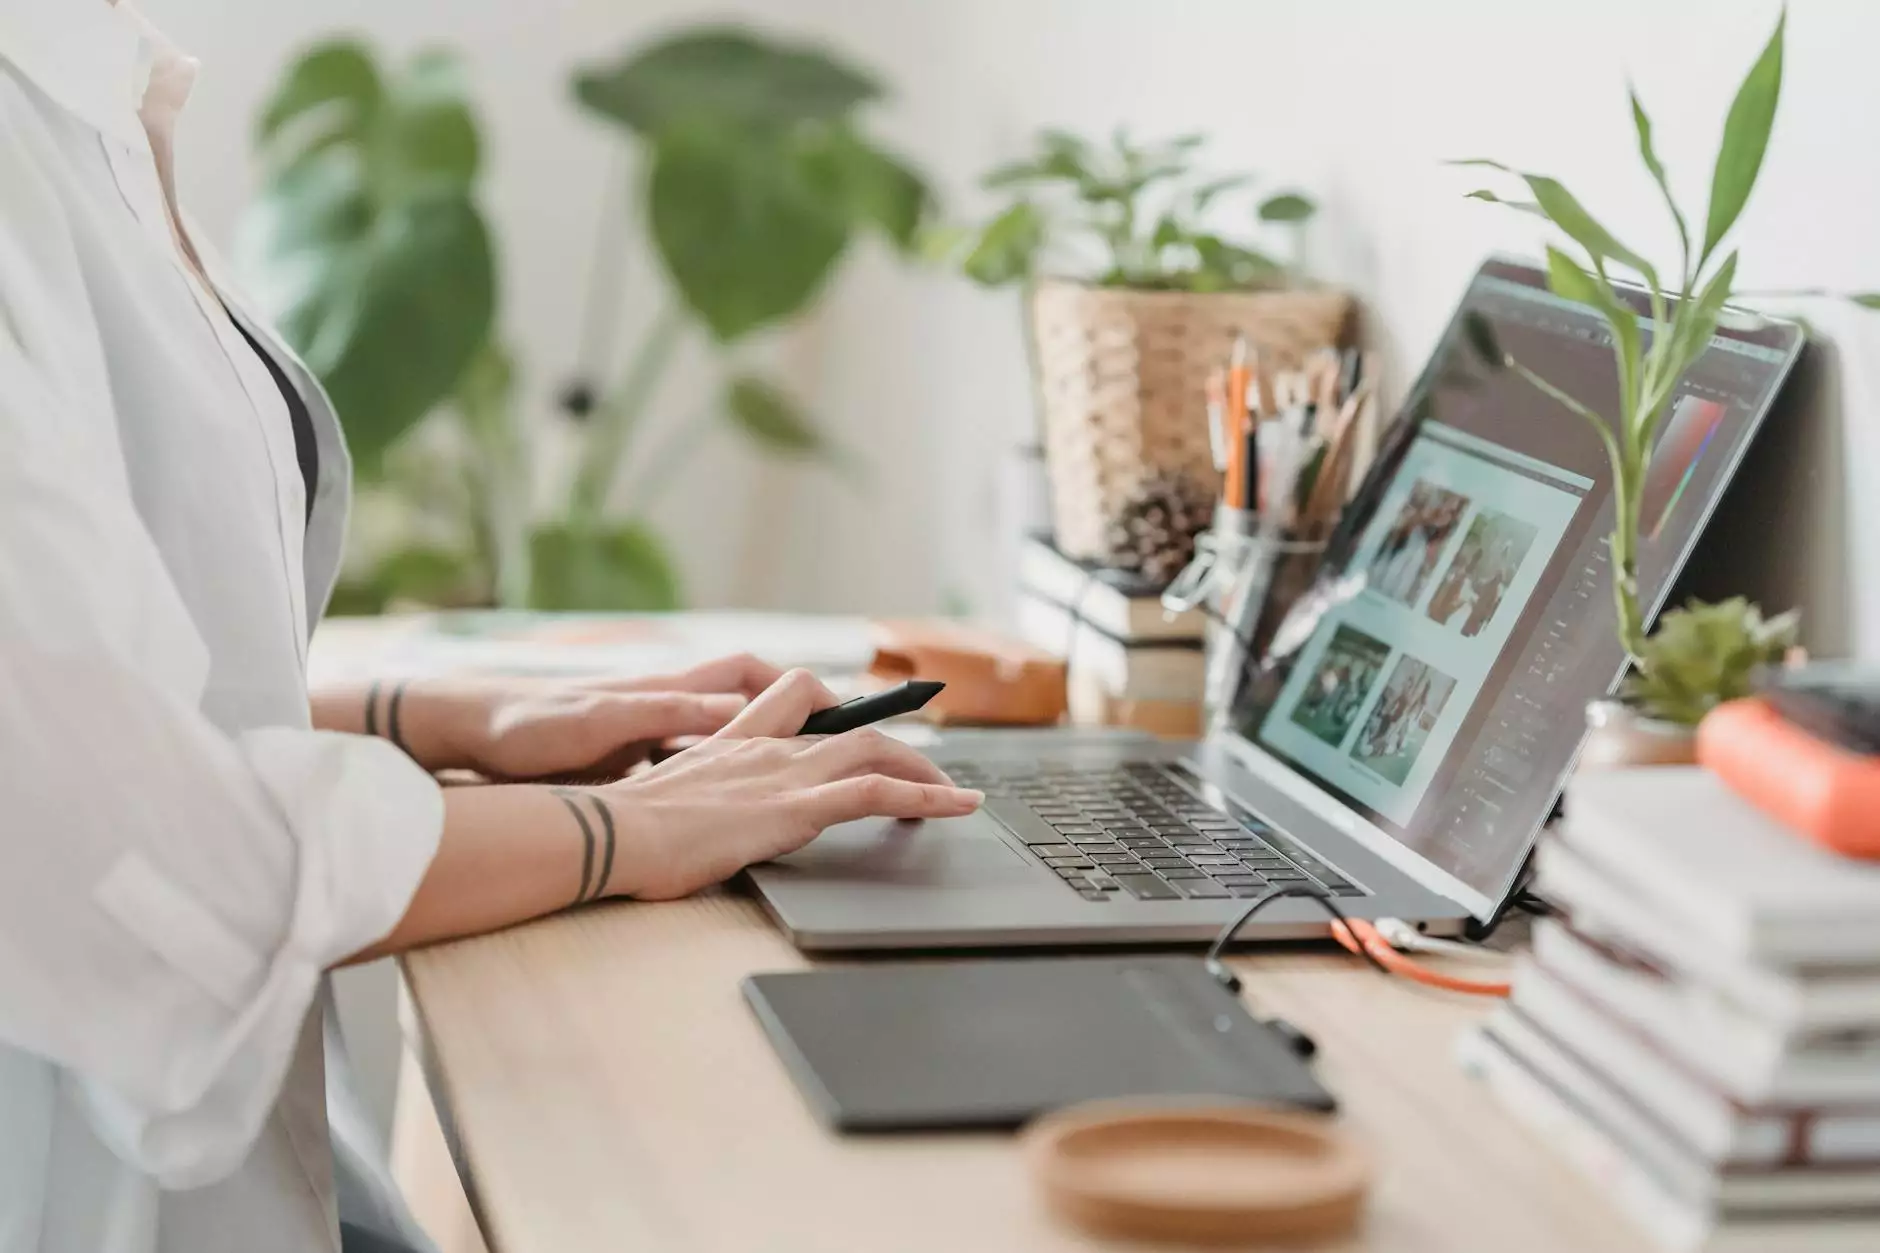
Remote Desktop Access allows you to control a computer from a remote location using an internet connection. With this capability, you can securely access files, run programs, and perform tasks as if you were physically present at your home computer, eliminating the need to carry your device with you everywhere.
Step 1: Enabling Remote Desktop
The first step in setting up Remote Desktop Access from home is to enable it on your home computer. Follow the steps below to enable this feature:
- Open the Control Panel by clicking on the Start menu and searching for "Control Panel."
- In the Control Panel, navigate to "System and Security" and click on "System."
- From the System window, select "Remote settings" from the left-hand menu.
- In the Remote tab, check the box that says "Allow Remote Assistance connections to this computer" and click "Apply" and then "OK."
Step 2: Configuring Router Settings
In order to access your home computer remotely, you need to configure your router settings to allow Remote Desktop connections. Follow the steps below to configure your router:
- Access your router's settings by typing your router's IP address into your web browser.
- Authenticate yourself by entering the administrator username and password.
- Navigate to the "Port Forwarding" or "Virtual Server" settings.
- Add a new port forwarding rule for Remote Desktop Protocol (RDP) using port 3389. Make sure to forward it to the local IP address of your home computer.
- Save the settings and restart your router if necessary.
Step 3: Obtaining a Static IP Address
To ensure a stable and reliable Remote Desktop connection, it is recommended to have a static IP address for your home computer. Follow the steps below to obtain a static IP address:
- Contact your Internet Service Provider (ISP) and inquire about obtaining a static IP address.
- Depending on your ISP, you may need to pay an additional fee for a static IP address. Consider the benefits and decide if it's worth it for your needs.
- If your ISP does not offer static IP addresses, you can rely on Dynamic DNS (DDNS) services to associate a domain name with your changing IP address.
Step 4: Securing Remote Desktop Access
With Remote Desktop Access enabled, it's crucial to implement security measures to protect your computer and data. Consider the following tips to enhance the security of your remote connection:
- Use a Strong Password: Choose a complex password for your user account to prevent unauthorized access.
- Enable Network Level Authentication (NLA): This adds an extra layer of security by requiring users to authenticate themselves before establishing a remote session.
- Enable Firewall: Ensure that your computer's firewall is turned on to block any unauthorized access attempts.
- Use VPN: Consider setting up a Virtual Private Network (VPN) to establish an encrypted connection between your remote device and your home computer.
Conclusion
By following the steps outlined in this comprehensive guide, you can set up Remote Desktop Access from home and enjoy the freedom and flexibility it provides. TNECDA- Creative Design Agency is here to support you with Arts & Entertainment - Visual Arts and Design expertise, empowering you to stay connected to your creative work regardless of your physical location.